2001 Yamaha Blown Engine Bike Rebuild
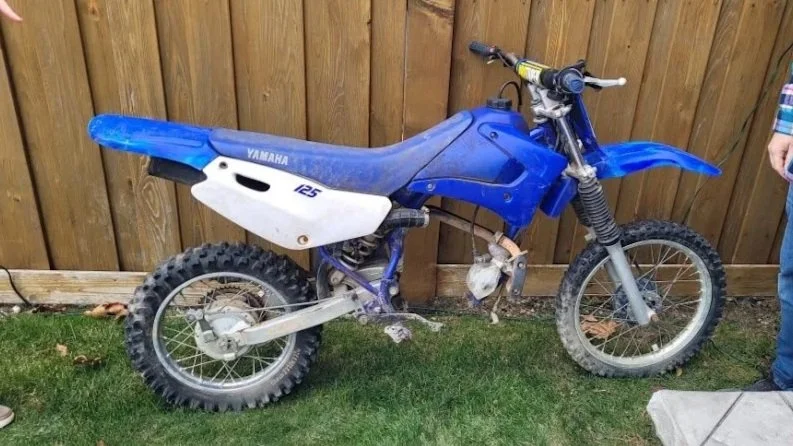
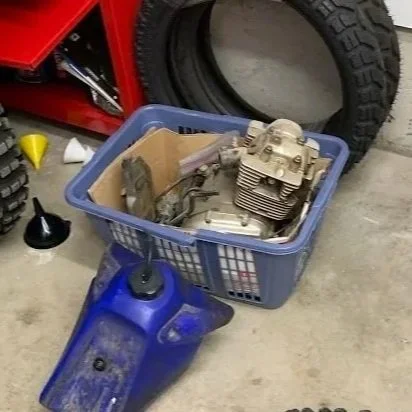
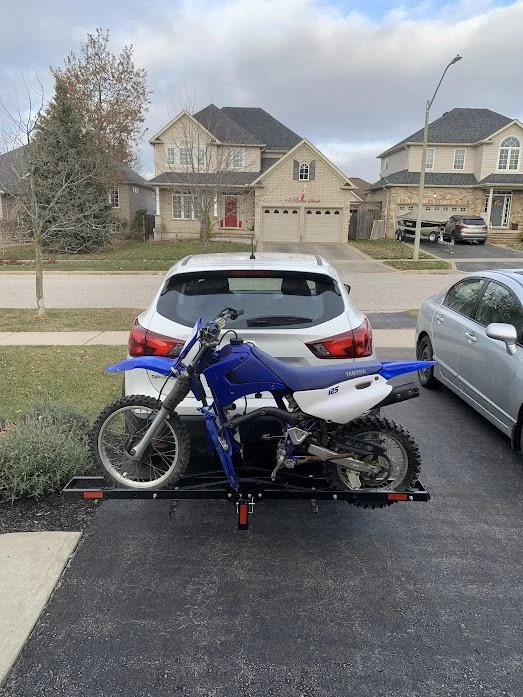
In late 2023, the weather was changing, nights where getting colder and I was itching for another winter garage project. My friend mentioned that he had his old highshool dirtbike from around a decade before still sitting outside behind his parents house if I wanted to have it. It was just about the perfect timing. I packed up my little dirt bike hitch carrier and headed over to meet him at his parents. At first glance, the engine was being stored in a laundry bin (indoors, fortunately for me) along with some other odds and ends. The front brake was so siezed up, we needed to pick up the frame rather than roll it to my vehicle. The start of a great winter project!
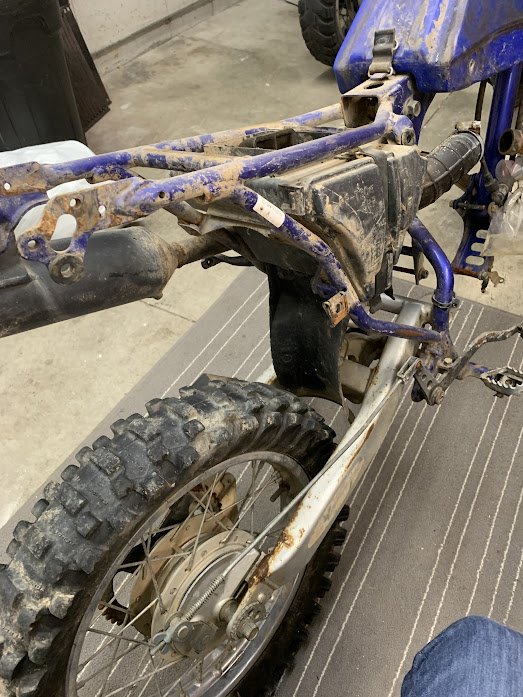
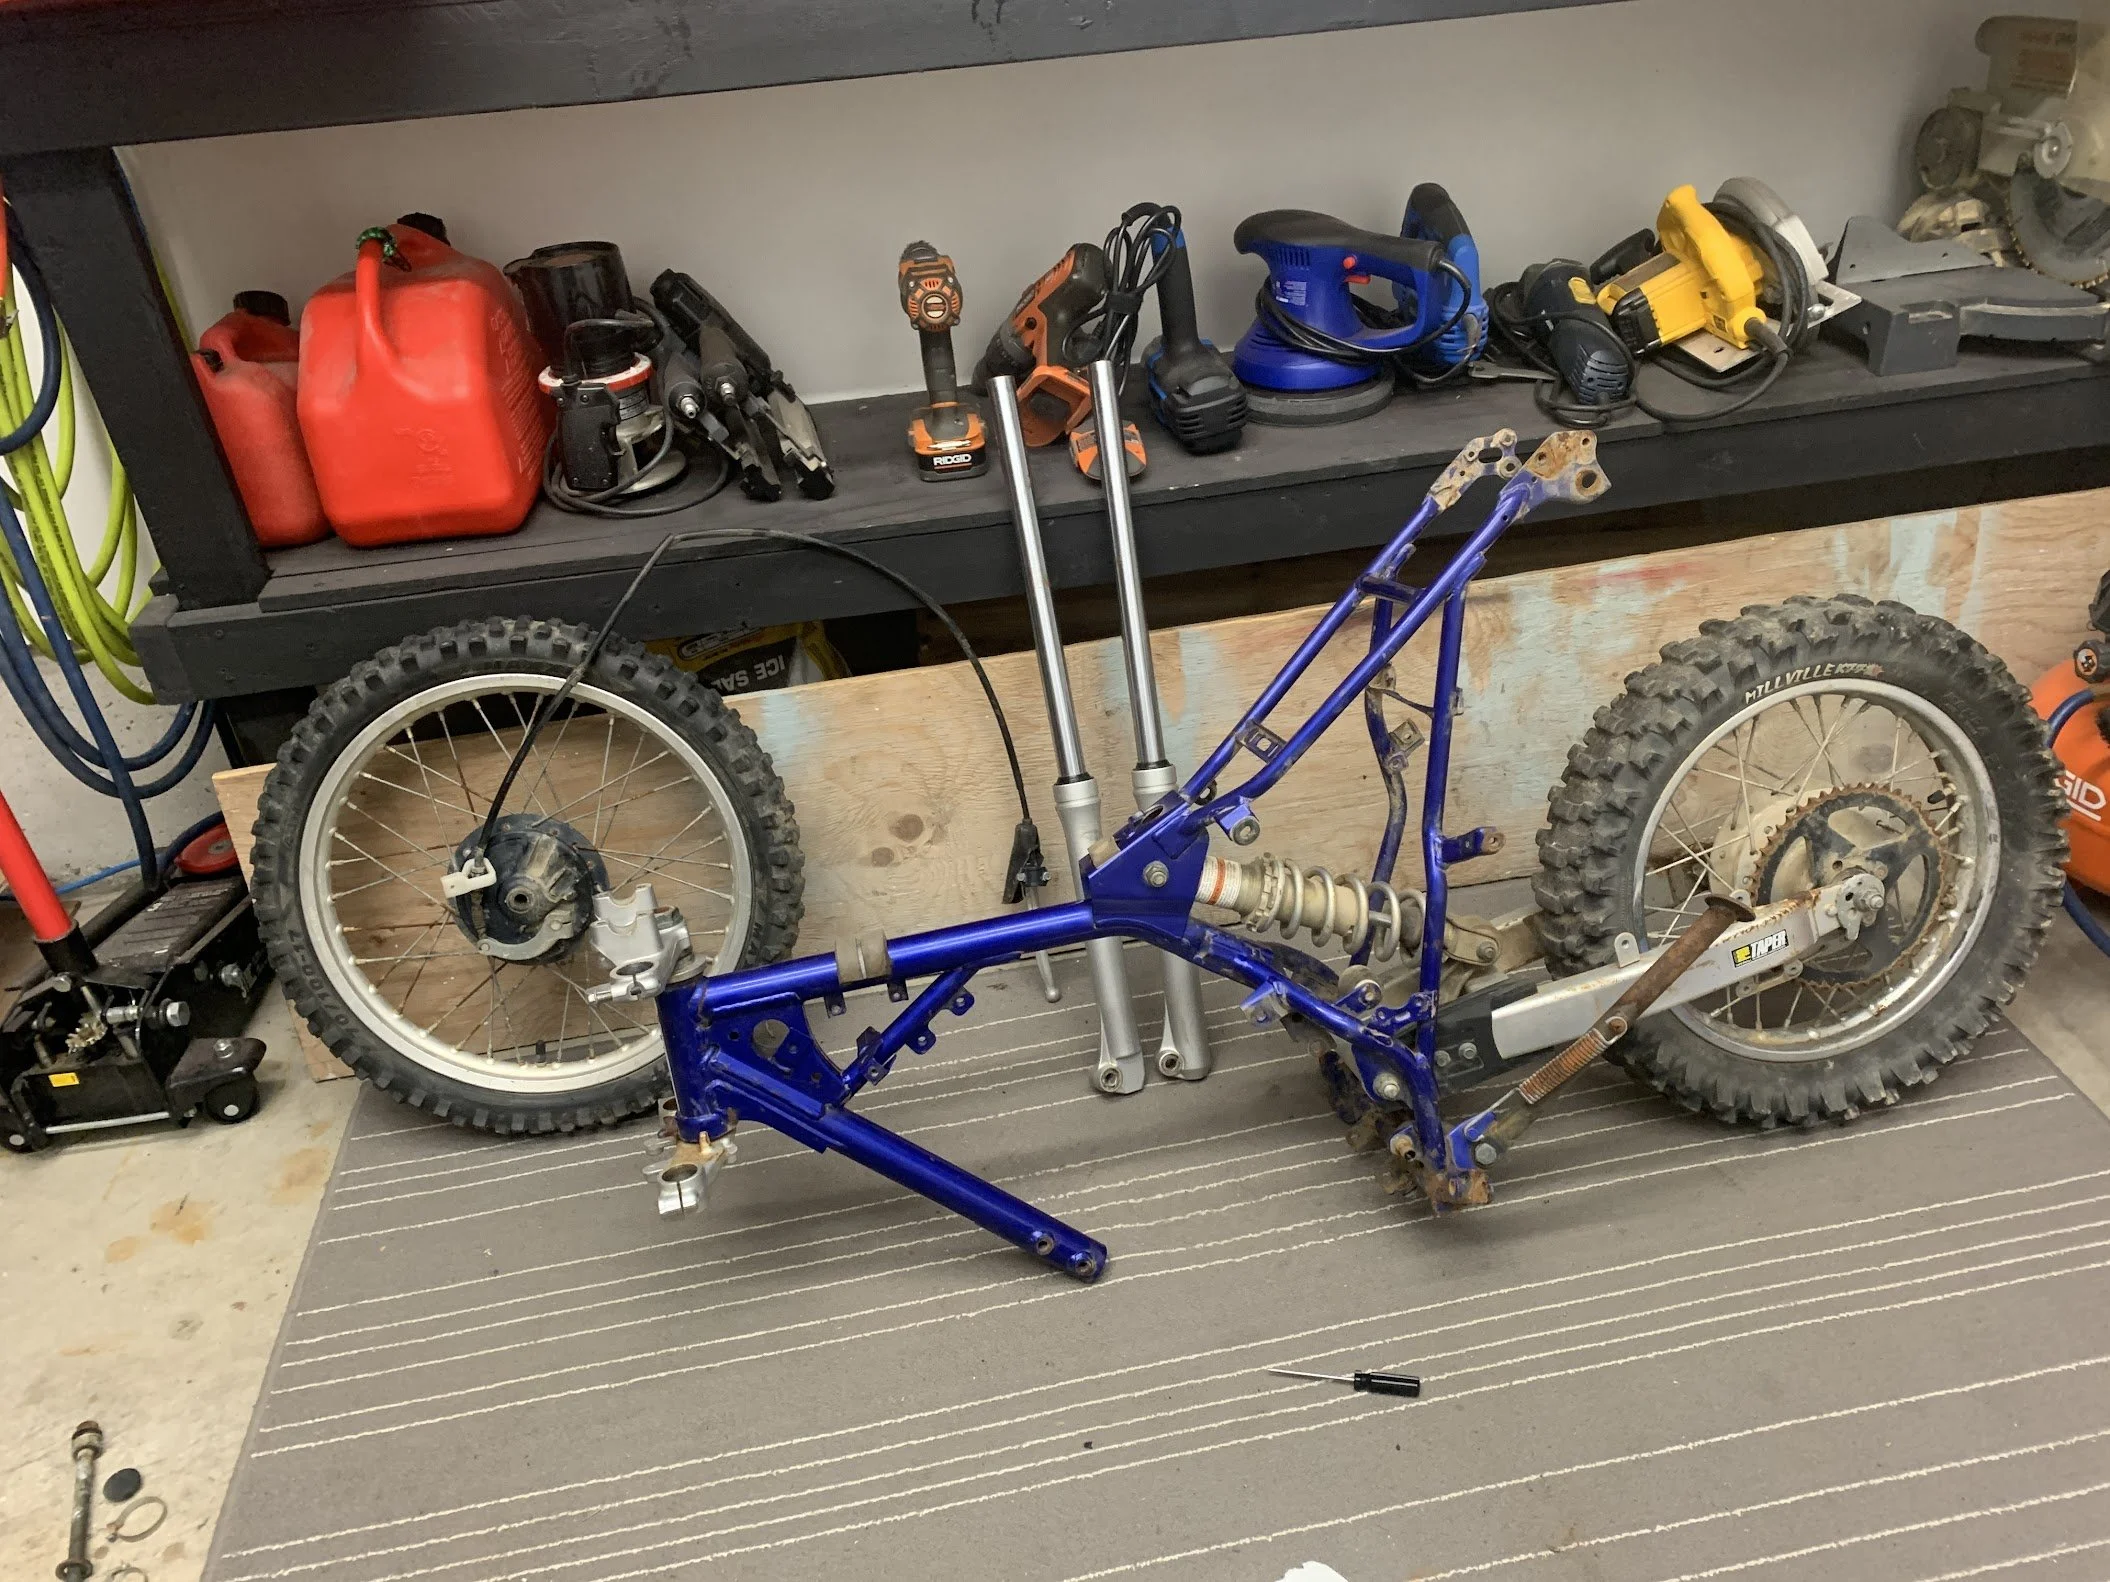
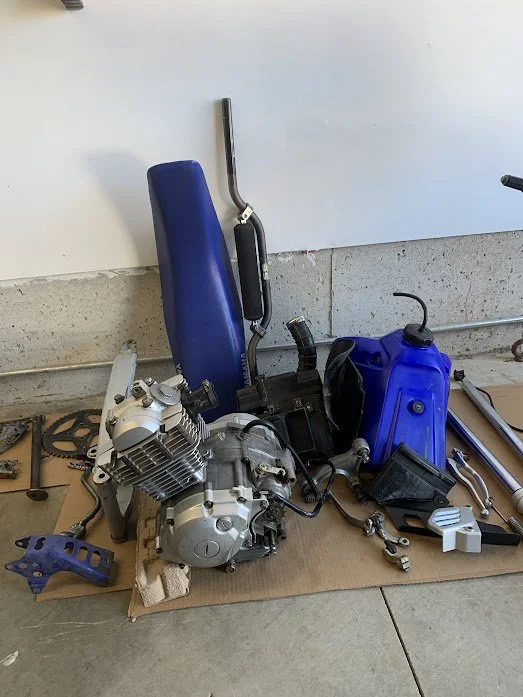
Initial Impressions and Disassembly
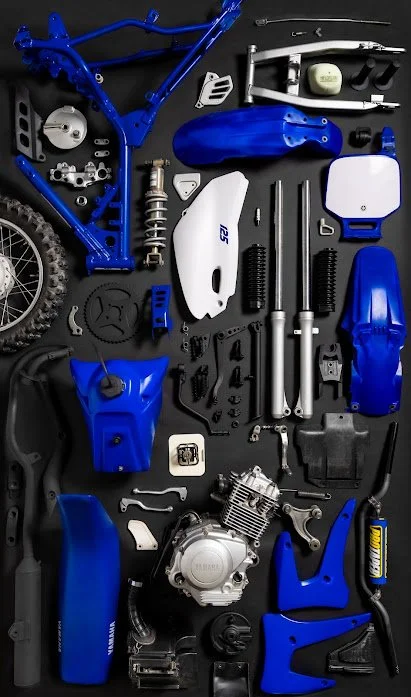
Once I got the new bike home to my garage, I started assessing the damage and seeing what I would be working with. I already knew that the engine would need some kind of rebuild and the wheel was siezed, but I was also curious about how complete the bike was and how many parts were missing. The little TTR 125 has had a pretty rough life from being passed between several owners, but it still had good bones and alot of potential. On day one I was excited and right away got the bike down to just it’s frame and swing arm.


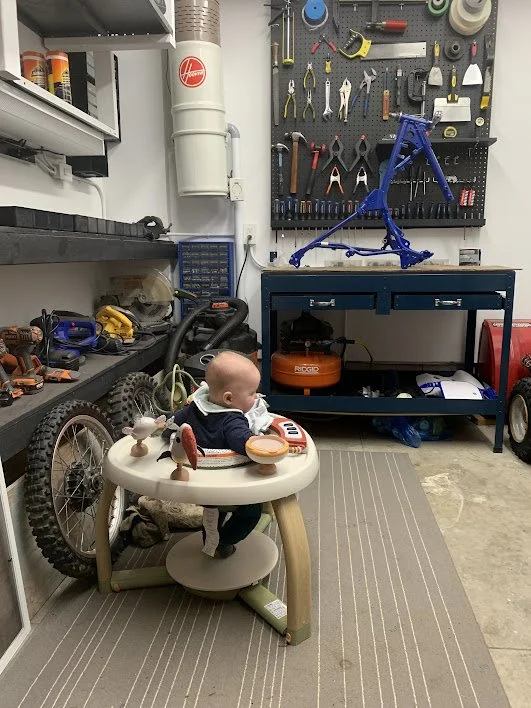
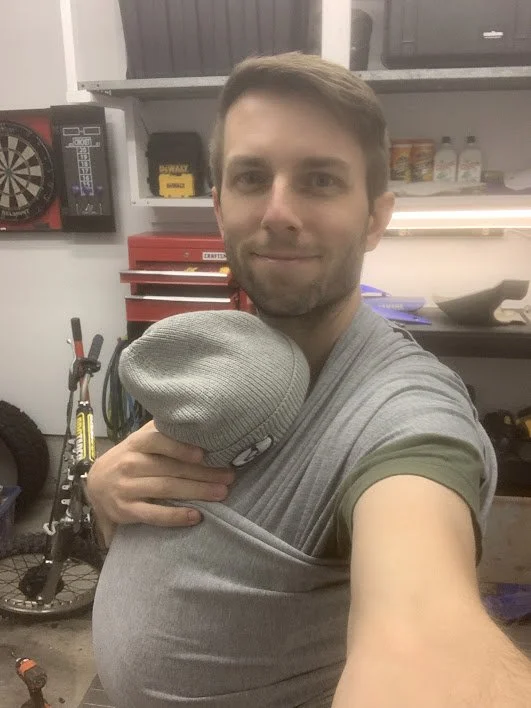
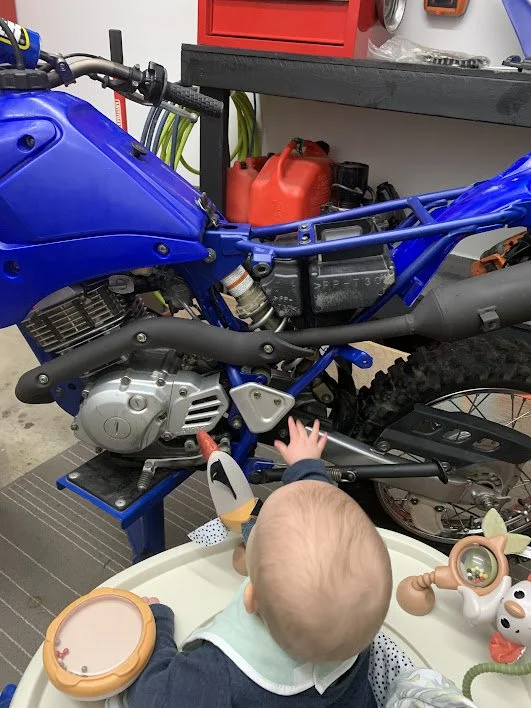
A Little Extra Help This Time Round
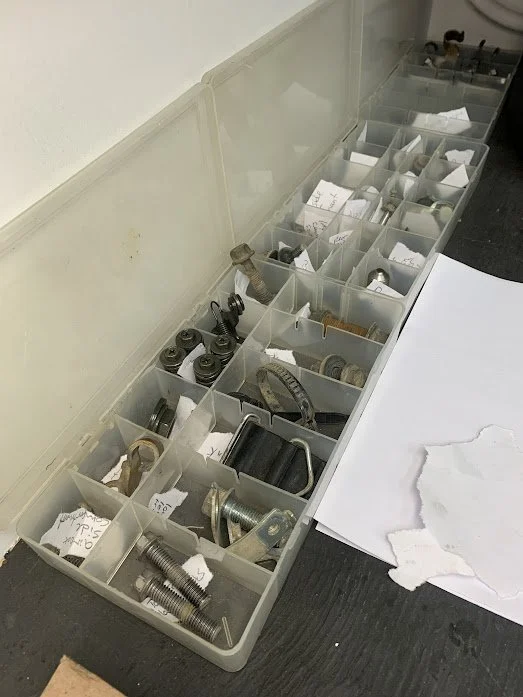
This time around, my dirt bike rebuild is quite a different experience. My wife and I had our son just a few months earlier so he accompanied me for alot of the disassembly. Naturally, he was also super curious about his “Dada’s Blue Bike” as he would later call it. Progress was slow, but steady as I seperated and labelled each and every part of the bike.
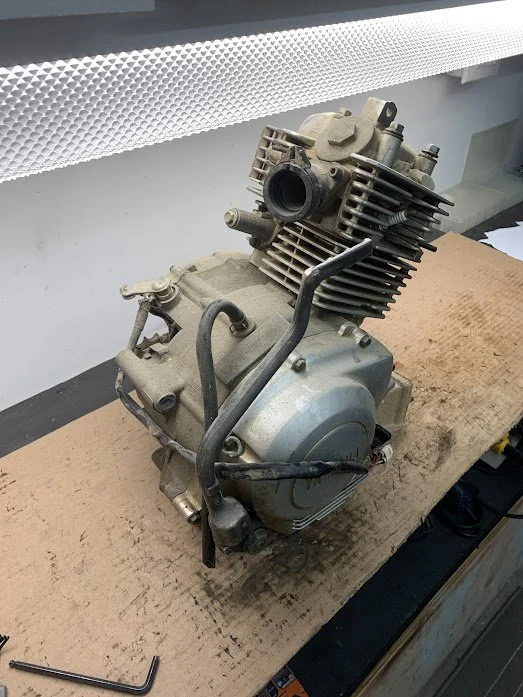
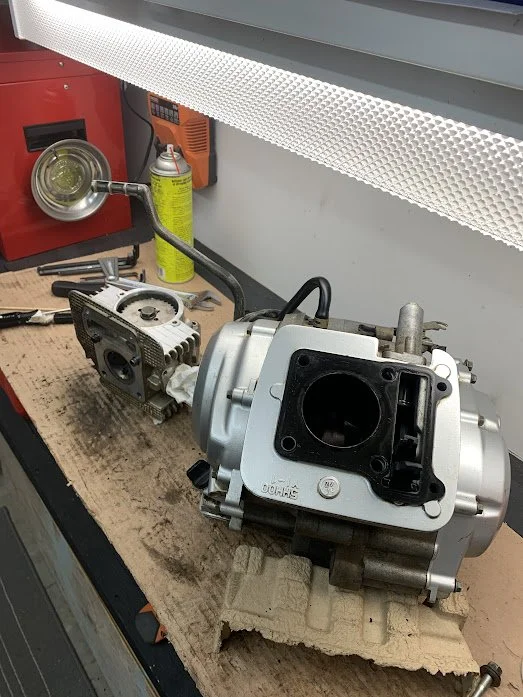
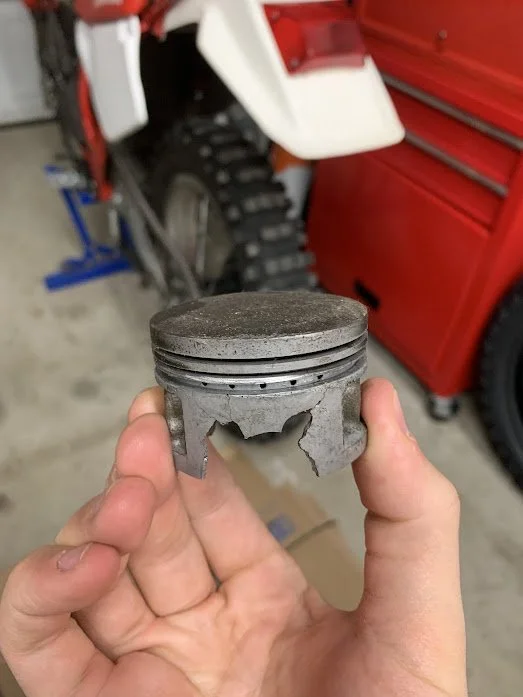
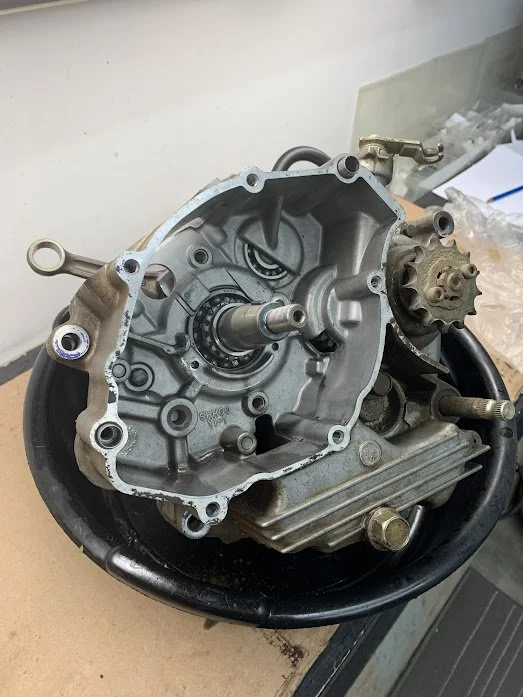
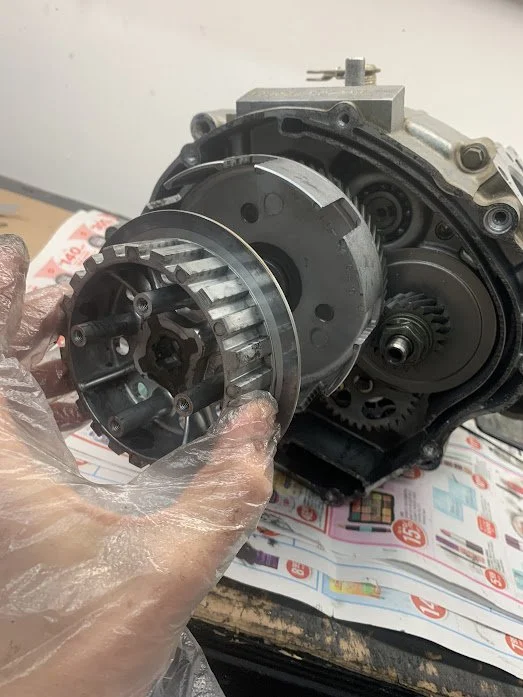
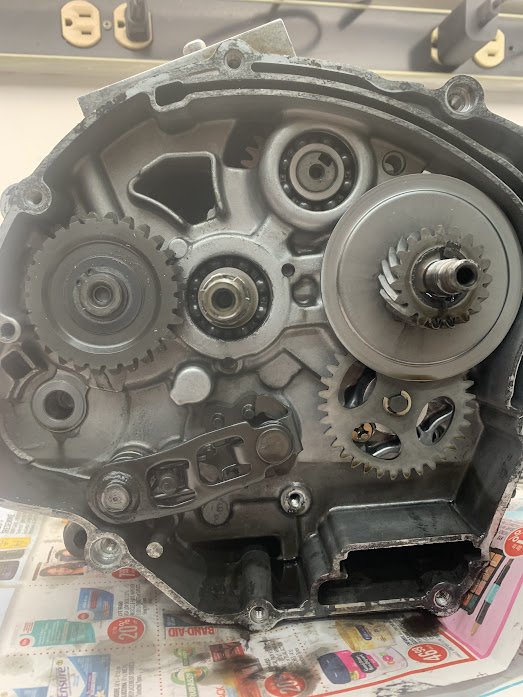
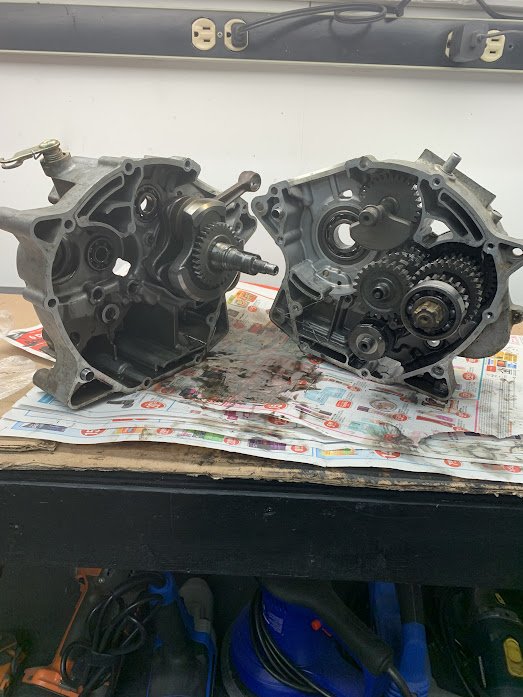
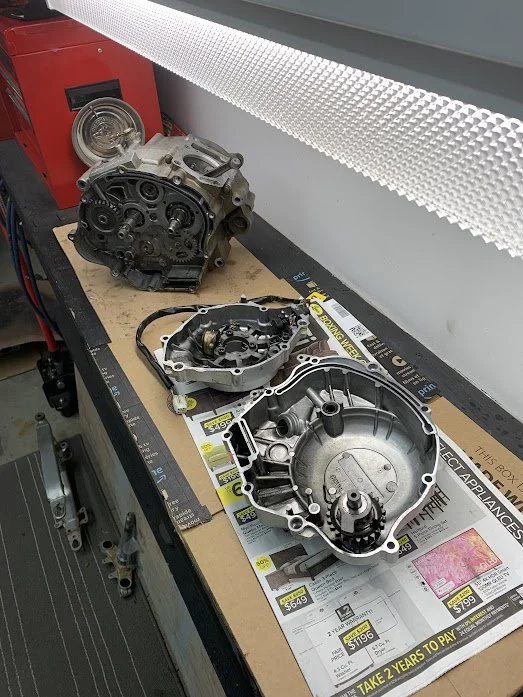
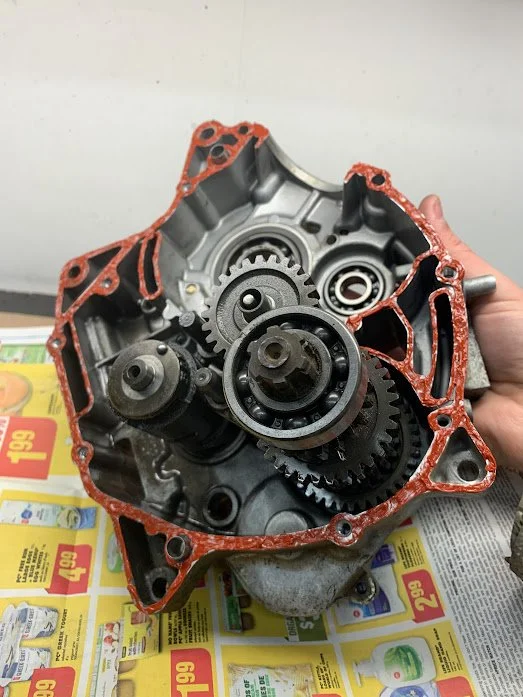
Full Engine Tear Down
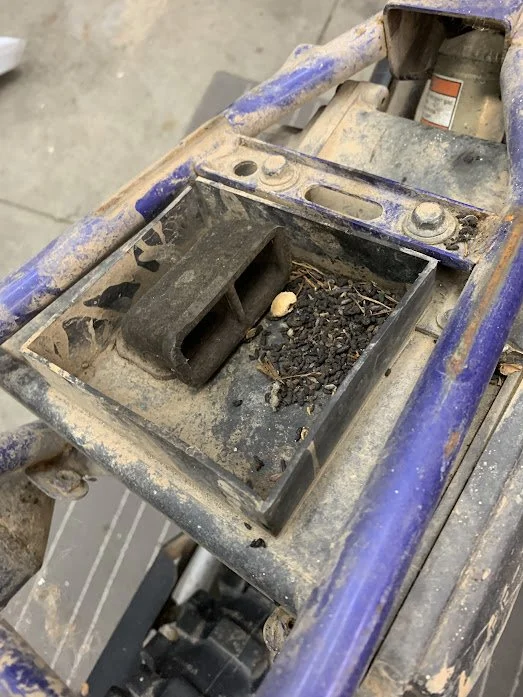
It doesn’t seem like it here, but it was a good month or two of me playing around with the bike frame etc. before I even considered looking into the engine. This was because, although this was my third bike project, I had no need to open up the engine of the other two bikes, so this was my first official engine tear down which is very intimidating. The pressure built when I found out that the piston had completely shattered inside the cylinder head, almost certaintly filling the body of the engine with metal shrapnel. Sure enough, after many hours of carefully cleaning and making notes for each part of the engine, I was able to get all of the unwanted metal out of there and seal it back up.


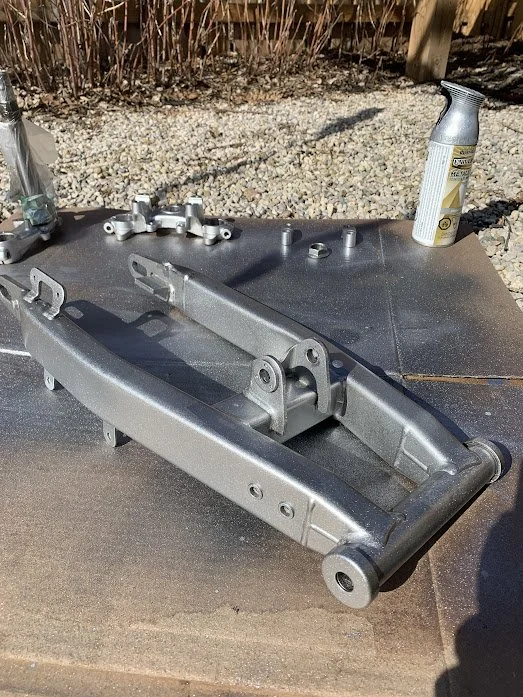
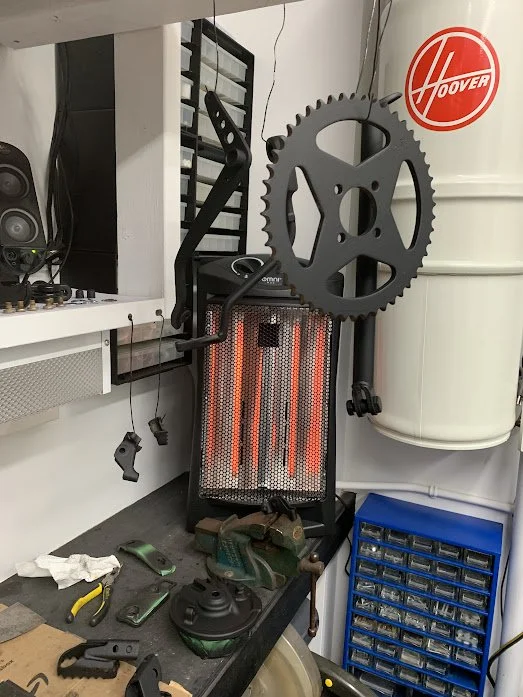
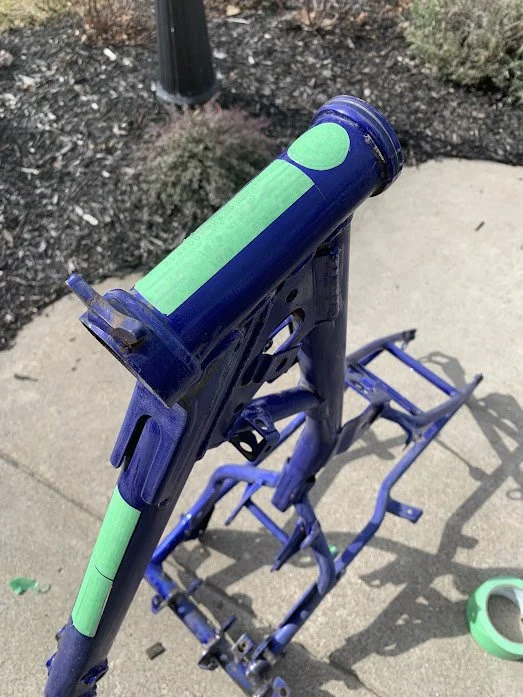
Cleaning and Painting (For Many, Many Hours)
Then came time for the part I have (a little bit of) experience with. One at a time, I took every part and sanded/cleaned, primed, and then painted to look as close to new as possible. It turns out, my wooden pergola in our back yard makes for the ideal spray painting booth. With enough wire and not too much wind, I was able to spray paint every part of the bike and have a half decent finish to them.

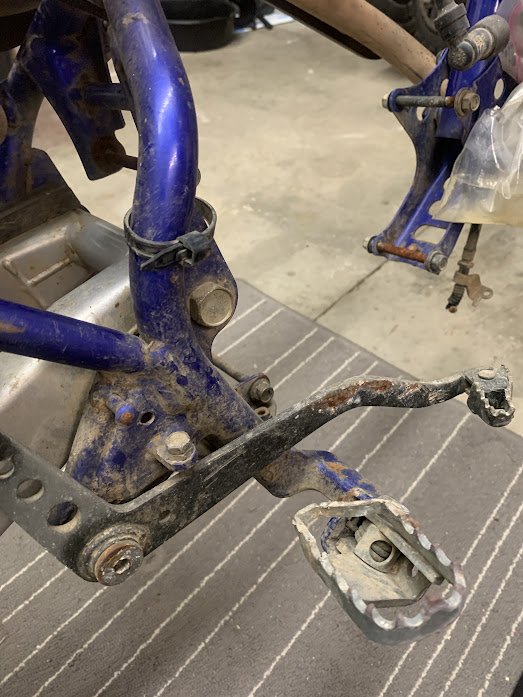
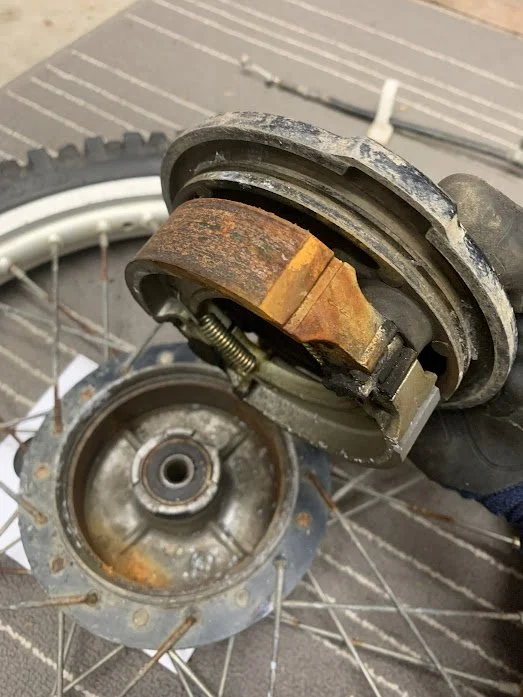
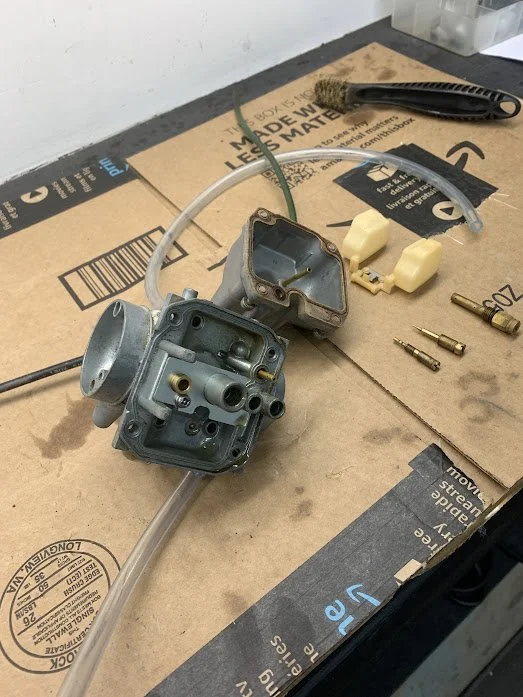
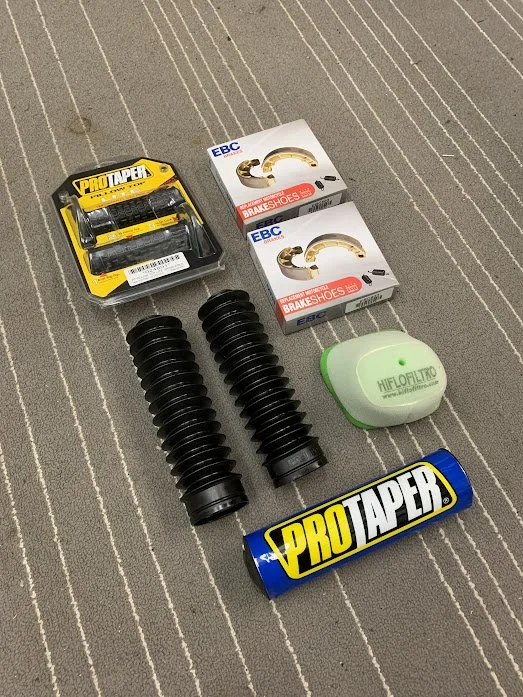
Odds and Ends and Replacement Parts
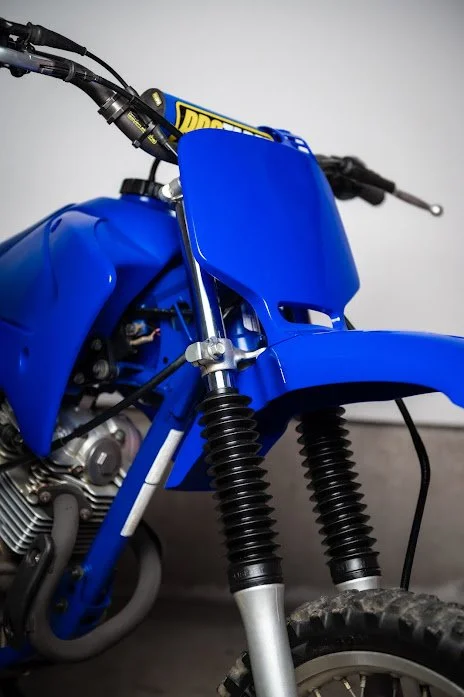
Around that same time, I was also busy with some odds and ends that needed some attention. I was tired of not having the bike roll under it’s own weight, so I took apart the front drum brake and replaced the pads (as well as cleaning everything and painting of course). I went around the bike taking a look at each part and fixed some things like bent levers, missing lug bolts and a really gunked up carb. I wanted to keep the costs down, but some simple parts like the fork gators and grips make more sense to just replace with new parts. After several hours of trying to clean up the brittle blue plastics as much as possible, I still wasn’t happy with them, so I ended up ordering a new front and rear fender as well as the number plate.

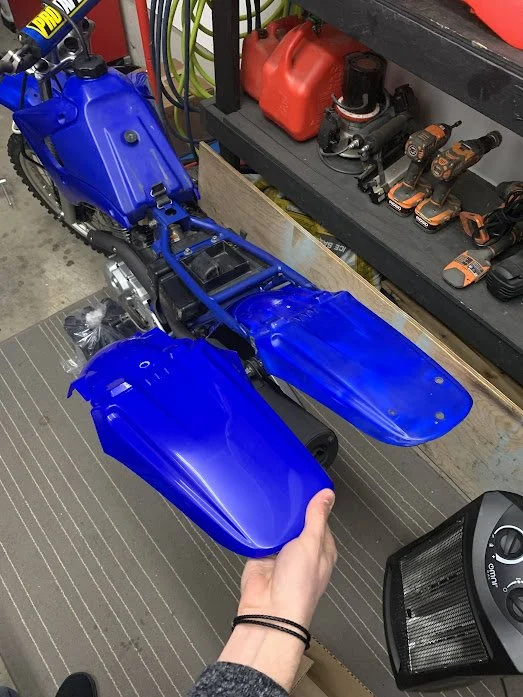
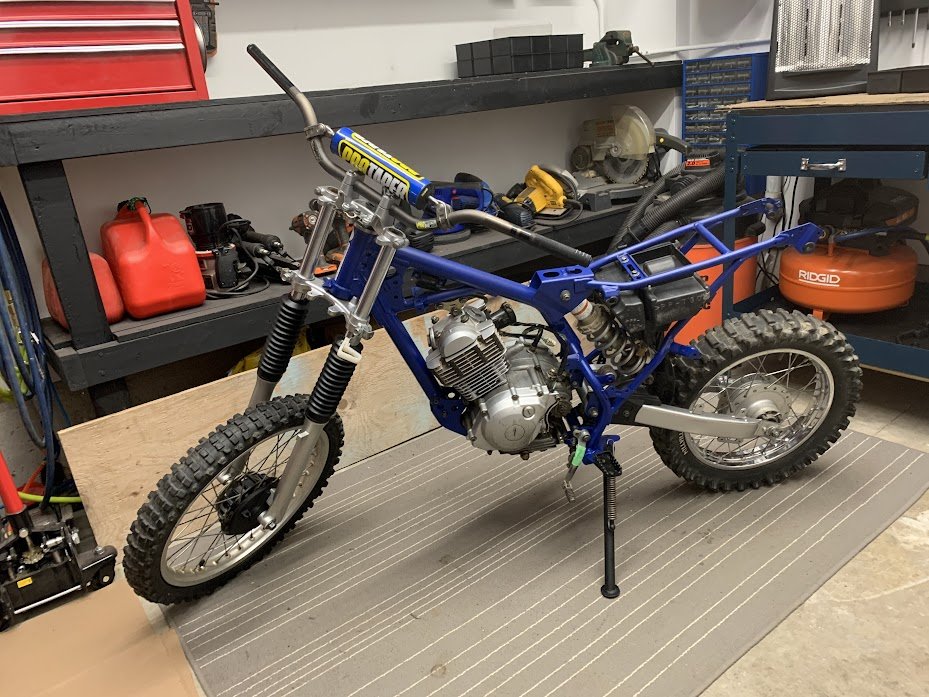
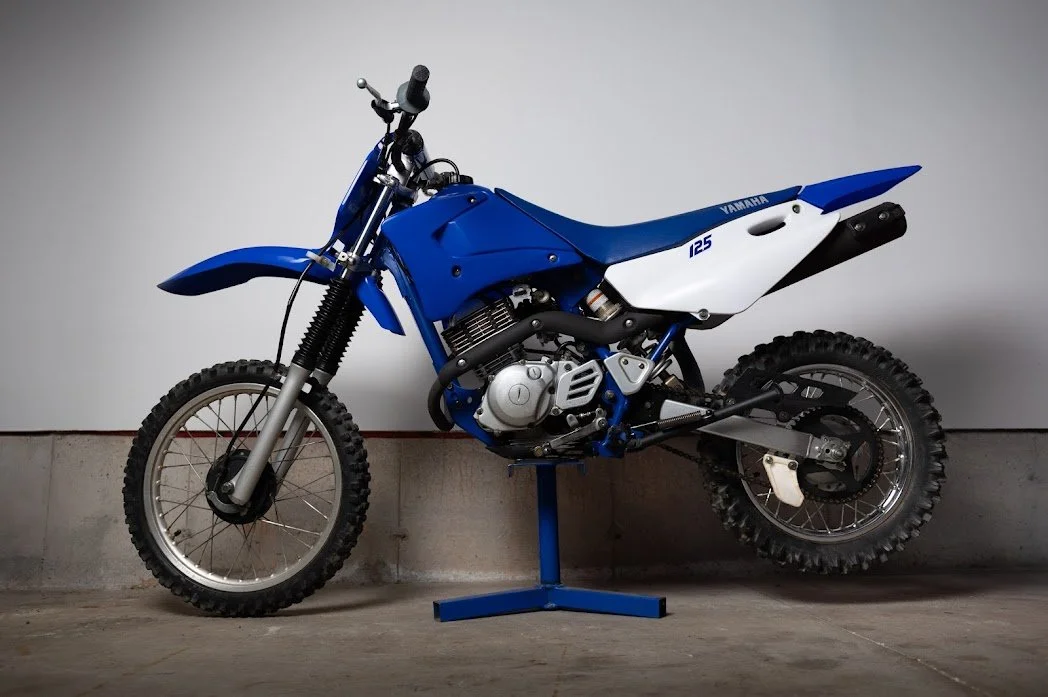
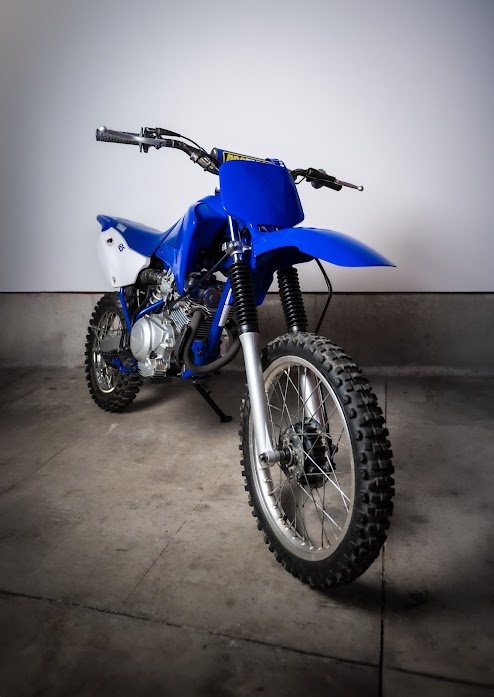
The End Result
And there we have it. A forgotten Yamaha TTR 125 that went from sitting outside for a decade to being up and running again with a good clean, fresh coat of paint, a bunch of new parts and even more original refurbished ones. At the heart of it, a new piston and cylinder head ready to be worn in for years to come.

First Test Ride
It’s hard to tell from the video, but I was as suprised as anyone that the bike fired up and ran this well after rebuilding the engine myself. For a moment after this first test ride, I thought the engine had a major oil leak. Turns out after spending around 100+ hours on this project, I forgot to put the oil drain plug in all the way and tighten it. A good reminder for next years project!